Ensure you have admin access to your AppsFlyer dashboard and an active CJ advertiser account.
Your mobile app (iOS and/or Android) must have the AppsFlyer SDK installed before proceeding.
Contact CJ Support to obtain your CID (Company ID), Signature (optional), and Action IDs for each event type you intend to track.
Code examples are provided for reference only. CJ does not guarantee their accuracy for your specific setup.
Step 1 — Enable CJ Integration in AppsFlyer
1
In AppsFlyer, navigate to Collaboration > Partner Marketplace.
2
Search for CJ using the PID: cj_int and select the CJ integration.
3
For each app (iOS and Android), open the Integration tab and toggle Activate partner to ON.
4
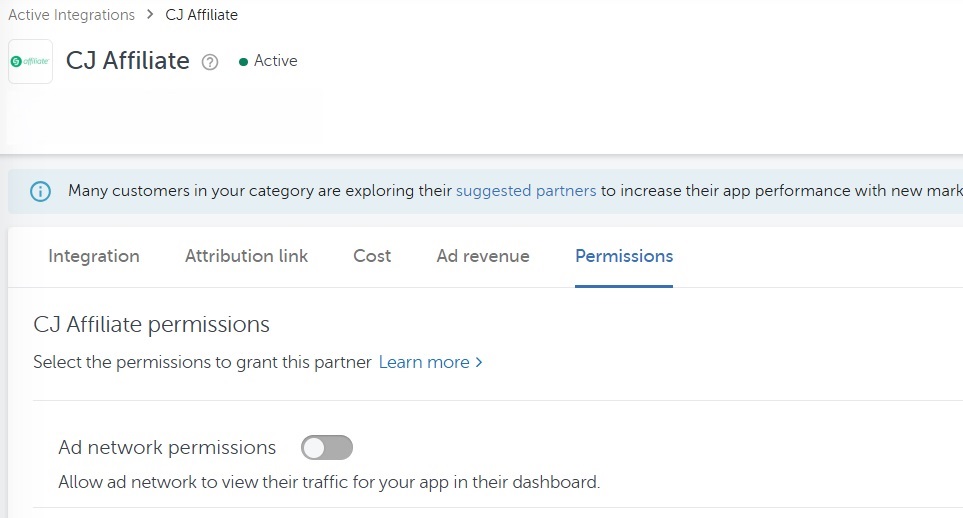
Navigate to Active Integrations, find CJ, and under the Permissions tab toggle Ad network permissions to ON.
5
To grant permissions to a specific user, add [email protected]. Enabling view permissions allows CJ to assist with troubleshooting and optimisation.
Step 2 — Configure Postback Settings
Disable Advanced Privacy
CJ's integration does not currently support Advanced Privacy for iOS 14.5+ users. Advanced Privacy must be turned off before configuring postbacks.
1
Locate the Advanced Privacy settings within the integration.
2
Toggle Advanced Privacy to OFF.
3
If the toggle is unavailable, Aggregated Advanced Privacy must first be disabled at the App Settings level. Contact your AppsFlyer account administrator if you lack the required permissions.
🚧
With Advanced Privacy ON, user-level data and fraud reports will not be available for non-consenting iOS users. This will impact CJ's ability to attribute and report on affiliate-driven installs from iOS traffic.
General Settings
1
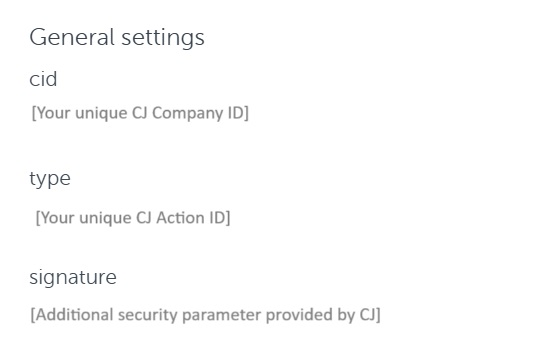
Within the integration, open the Integration tab and locate General Settings.
2
Enter your CJ-provided IDs and configure the fields as described in the table below.
3
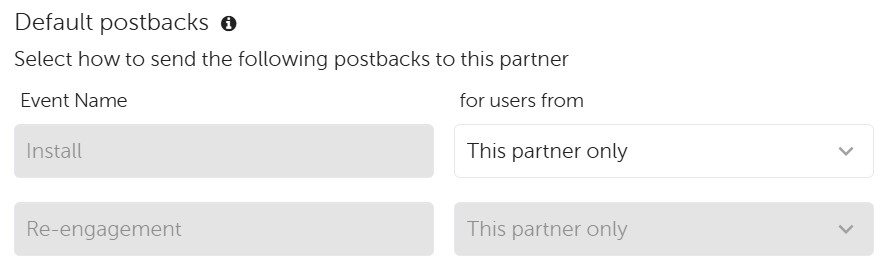
Leave Event Name as Install and Sending Option as This partner only unless otherwise advised by your CJ team.
4
Click Save Integration.
Click any row to see type, format, and value examples.
Parameter
Description
Required
CID
Your unique CJ Company ID. A static value provided by CJ.
Required
Action ID (Type)
Identifies app install events. A static value provided by CJ — one Action ID is issued per event type.
Required
Signature
An additional security parameter provided by CJ. Not required for all accounts.
Optional
Event Name
The name of the event being tracked. Leave as the default value unless instructed otherwise by CJ.
Required
Type: String
Allowed Values
Install
Note: Keep as default. Changing this value may cause postbacks to be unrecognised by CJ.
Sending Option
Controls which traffic sources send postbacks to CJ.
Required
Type: Enum
Allowed Values
This partner only
All media sources, including organic
Note: Use 'This partner only' as the default. Only change to 'All media sources' if explicitly required by your CJ programme setup.
In-App Event Configuration
1
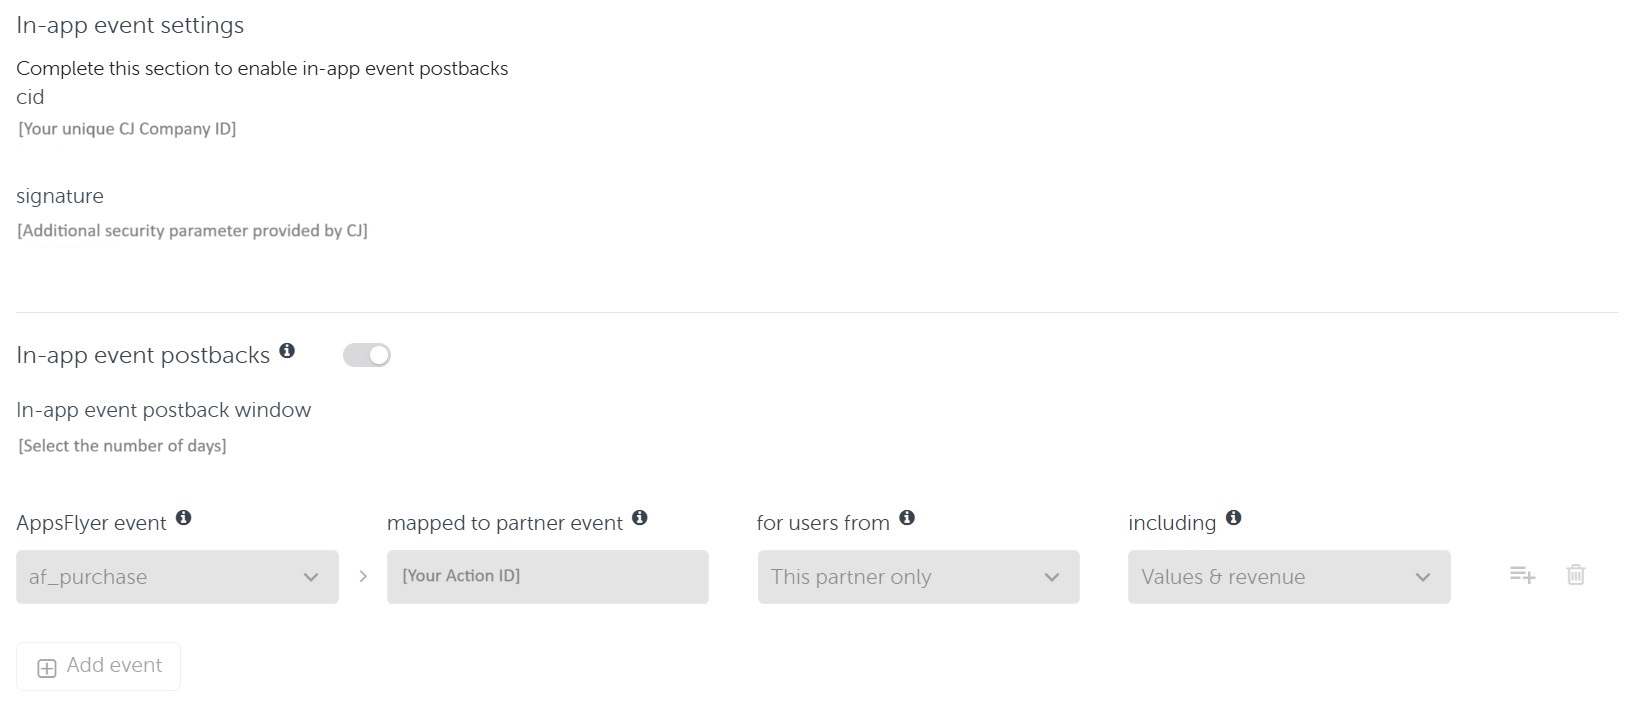
Enter the same CID and Signature (if applicable) used in General Settings.
2
Toggle In-app event postback to ON.
3
Set the postback window to be equal to or greater than the Action Referral Period defined in your CJ Programme Terms. Best practice is to set a longer window in AppsFlyer and control the actual referral period within CJ.
4
Click Add Event for each in-app event you wish to track and configure the fields as described in the table below.
5
Click Save Integration.
Click any row to see type, format, and value examples.
Parameter
Description
Required
AppsFlyer Event
The in-app event as defined in your AppsFlyer SDK implementation. Select from the dropdown.
Required
Type: Enum
Allowed Values
af_purchase
af_complete_registration
af_subscribe
Note: The dropdown is populated from events your SDK has already sent to AppsFlyer. If an event is missing, ensure the SDK has fired it at least once.
Mapped to Partner Event
The CJ Action ID that corresponds to this in-app event. Provided by CJ — one Action ID per event type.
Required
For Users From
Determines which attributed users trigger a postback to CJ.
Required
Type: Enum
Allowed Values
This partner only
All media sources, including organic
Note: Set to 'This partner only' unless your programme requires broader attribution reporting.
Including
Controls whether revenue and event values are included in the postback sent to CJ.
Required
Type: Enum
Allowed Values
Values & revenue
No values
Note: Always select 'Values & revenue' to ensure accurate commission calculation and ROI reporting in CJ.
Step 3 — Generate Attribution Link
1
Within the integration, navigate to the Attribution link tab.
2
Under attribution link type, select Use OneLink.
3
Copy the URL from the Click attribution link field.
4
Send this URL to your CJ Integration team. They will append the necessary attribution and retargeting parameters and return test links for validation.
📘
OneLink automatically routes users to the correct destination — desktop web, in-app, or the App Store / Google Play — based on the user's device and context. Do not substitute a standard deep link or direct store URL.
Step 4 — Test the Integration
Before activating live affiliate traffic, work with your CJ Integration team to validate postback receipt end-to-end. Perform all tests on both iOS and Android.
1
Use the CJ-provided test link to perform a fresh app install on a test device.
2
Trigger each in-app event configured in Step 2 and confirm revenue values are passing correctly.
3
Document your test results including device types used, event timestamps, and any error messages encountered.
4
Share results with your CJ Integration team and await confirmation that postbacks have been received from AppsFlyer.
Need help?
Submit a support ticket for account-specific support.